
Things that front-end's common repetitive tasks for production are to prepare the following:
- CSS and JS Concatenation - a process of combining common bits of code into a single file, to lessen HTTP requests.
- CSS and JS Minification | Uglifying - a process of reducing file weight.
- Image Optimization/Compression - reducing image file size without affecting quality.
- Compile SASS / LESS / Stylus (CSS with superpowers).
It is not an extensive list, but these are some of the things that we need to do. I used to do these through Codekit - to manage minification, concatenation and compiling Sass. Optimizing images through imageOptim for lossless image compression. Then I heard about Grunt. Imagine having all those tasks above executed in a single command. These are some of the tasks that Grunt aims to automate.

What is Grunt?
Directly from their website - Grunt is Javascript task runner.
Grunt is a command line tool that runs on top of Node that automates the workflows, but not limited to the ones I listed above.
How to Get Started?
1. Install node.js and npm
First we need to install Node, which is a required to run Grunt.
Head to the http://nodejs.org , download the installer and follow the instructions.
The node installer comes with npm (Node Package Manager), which manages grunt plugins.
2. Install grunt-cli
Installing Grunt is a per-project basis. We should install Grunt globally using the flag
3. Create package.json file
Next create package.json file on your project root with the contents below.
What is Grunt?
Directly from their website - Grunt is Javascript task runner.
Grunt is a command line tool that runs on top of Node that automates the workflows, but not limited to the ones I listed above.
How to Get Started?
1. Install node.js and npm
First we need to install Node, which is a required to run Grunt.
Head to the http://nodejs.org , download the installer and follow the instructions.
The node installer comes with npm (Node Package Manager), which manages grunt plugins.
2. Install grunt-cli
Installing Grunt is a per-project basis. We should install Grunt globally using the flag
-g, so that we could run it on any path. Enter these commands on your terminal.npm install -g grunt-cli3. Create package.json file
Next create package.json file on your project root with the contents below.
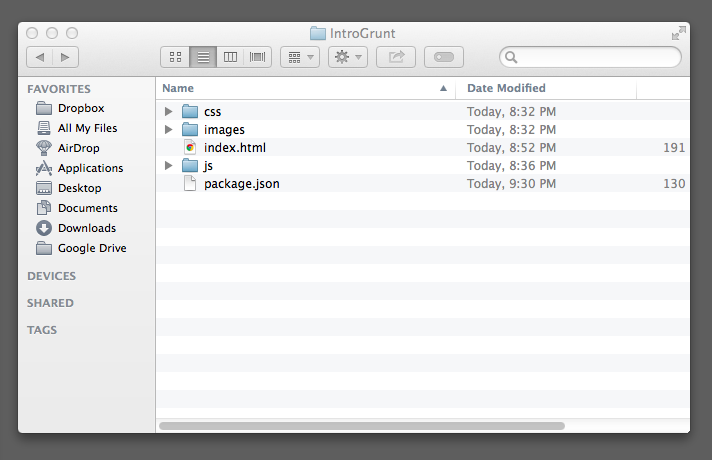 |
| Basic Project Structure with package.json file |
Next, navigate to your project folder then run:
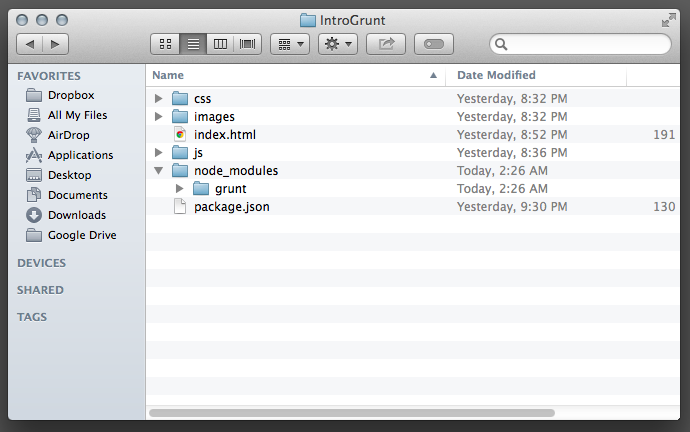
npm install
After running the command above you should have a folder called node_modules with successfully installed Grunt.
Basically grunt depends on plugins to do its magic. You can find a list of plugins on http://gruntjs.com/plugins. For now, we'll use the following plugins which are the ones I've used so far upon exploring Grunt:
- grunt-contrib-concat - Concantenate files
- grunt-contrib-uglify - Minify files using Uglifyjs
- grunt-contrib-sass - Compile Sass files to CSS
- grunt-contrib-cssmin - Compress CSS files
- grunt-contrib-imagemin - Minify/Compress Images
How to Install Grunt plugins?
npm install <plugin-name> --save-dev
 |
| *Notice the npm WARN - ignore for now, you can add those later. |
Adding "--save-dev" flag automatically updates your package.json file to include the new dependency.
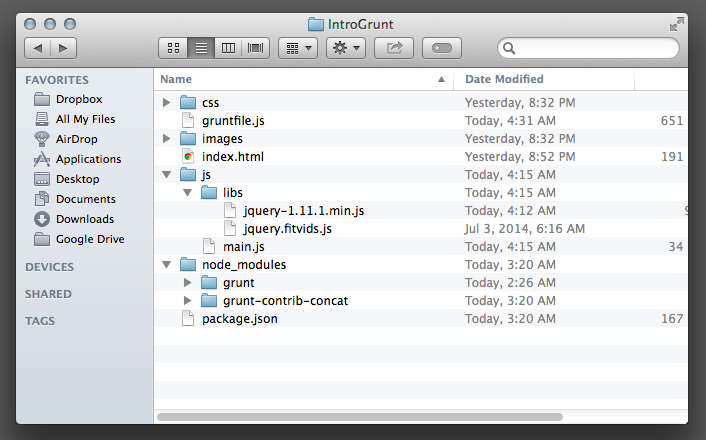
4. Create Gruntfile.js
Now we are ready to use the plugin. Let's create a gruntfile.js file on the project root.
Here's a basic gruntfile.js content using the "concat" plugin. For example we want to concatinate the following JS files:
- jQuery
- fitVids.js - jquery plugin for responsive video
- main.js
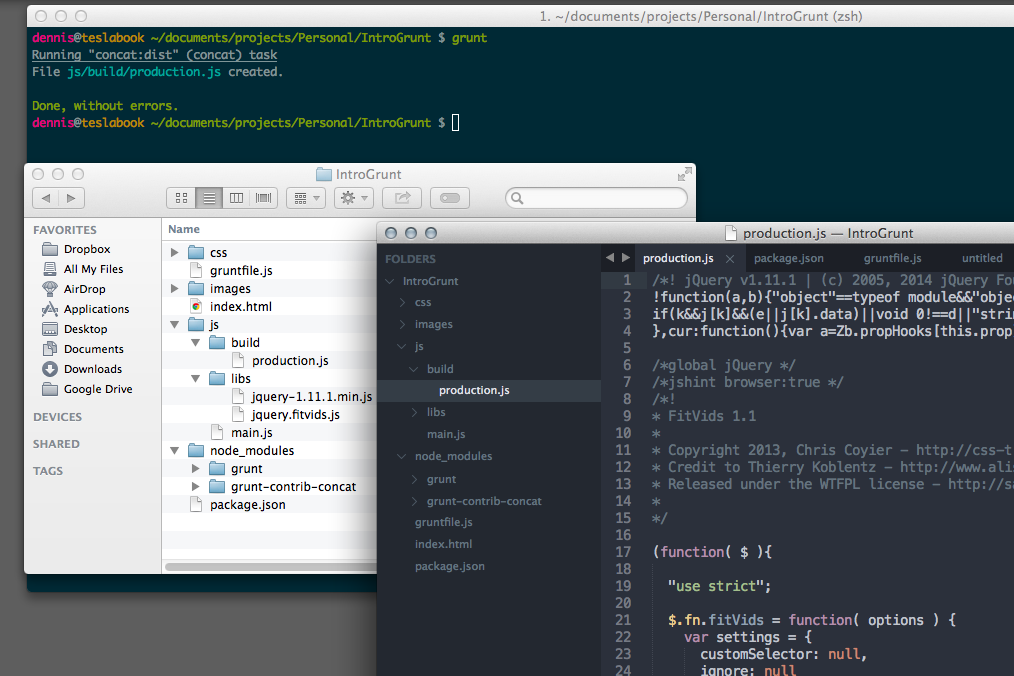
Then run grunt command on your project path (this command runs grunt default task)
gruntWhen running Grunt, you can also specify which task you would like to run. Like this.
(this command only runs the "concat" task).
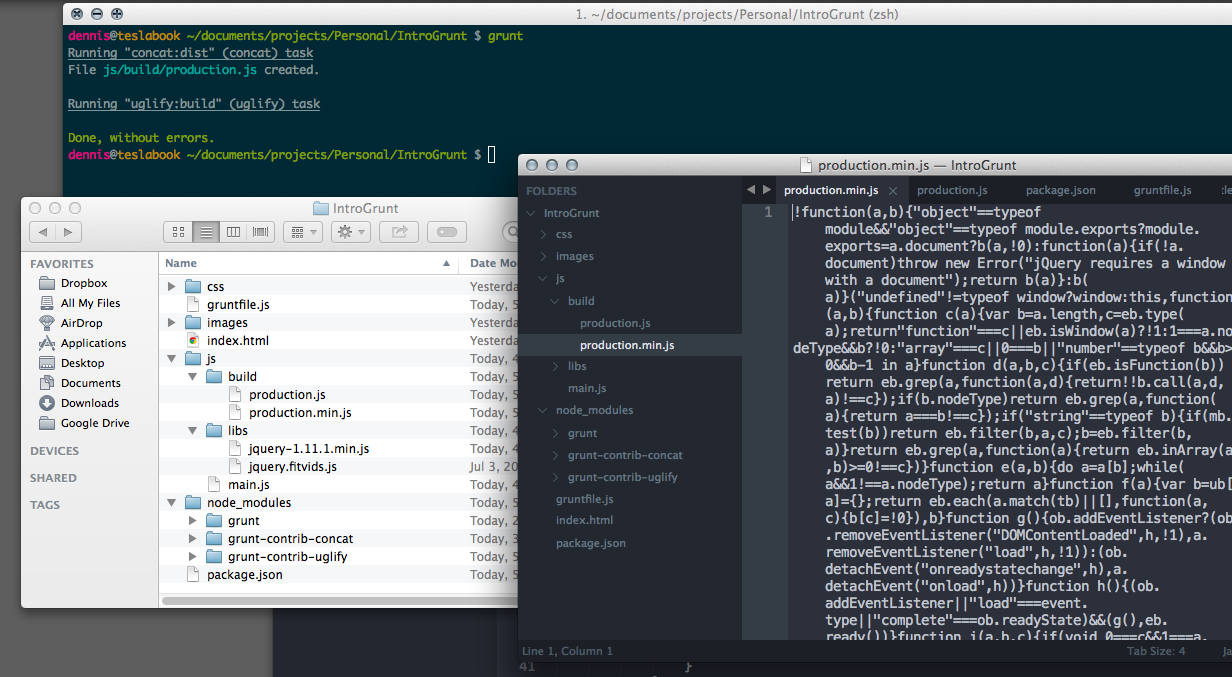
grunt concatWe now have a "production.js" file under the build folder.
So far, so good. Now we will add another plugin to Minify/Uglify our concatenated files. The same process we did with the "concat" plugin.
npm install grunt-contrib-uglify --save-dev
Here's our updated grunfile.js with "uglify" task.
Then run
grunt again in the terminal. We now have production.min.js
Next stop, we will now optimize one of the most heaviest assets on the web. Images.
The same process as we did for "concat" and "uglify".
Let's install grunt-contrib-imagemin, which is officially maintained by the Grunt Team.
Note: Tasks that starts with the name "grunt-contrib" are officially maintained by the Grunt Team.
Now run this on your terminal:
npm install grunt-contrib-imagemin --save-dev You can refer to the task documentation for further reading on how to configure a certain task. for imagemin, you can refer here.
Here's the updated gruntfile.js with basic config for imagemin
Then run
grunt again in the terminal.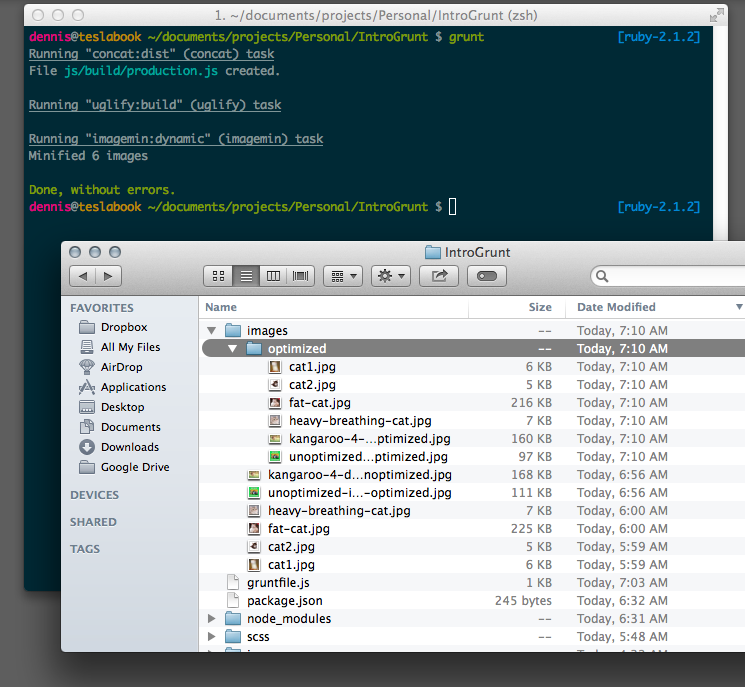
If you look in the images/optimized folder you now have compressed versions of the your image files. Not much savings, since I only used the default optimization level which is 3. You can pass an optimization level from 0 ~ 7.
Congratulations! You have successfully installed, configured and implemented Grunt!
I leave it up to you to explore the remaining tasks.
- grunt-contrib-sass
- grunt-contrib-cssmin
Further Reading
GruntJS Documentation
grunt-contib-watch - Basically monitors/watches file changes, then re-runs the task for those files automagically.
grunt-newer - specially useful for images as minifying images can be quite slow.
GulpJS - somewhat similar to Grunt, but I think has much simpler configuration.
No comments:
Post a Comment